How to Stretch a Canvas on a Frame at Home – Step-by-Step Guide
IF YOU HAVE ACCESS TO A FRAMING STUDIO OR FRAME SHOP, WE HIGHLY RECOMMEND ASKING A PROFESSIONAL – THEY WILL DO IT PROPERLY AND SAFELY.
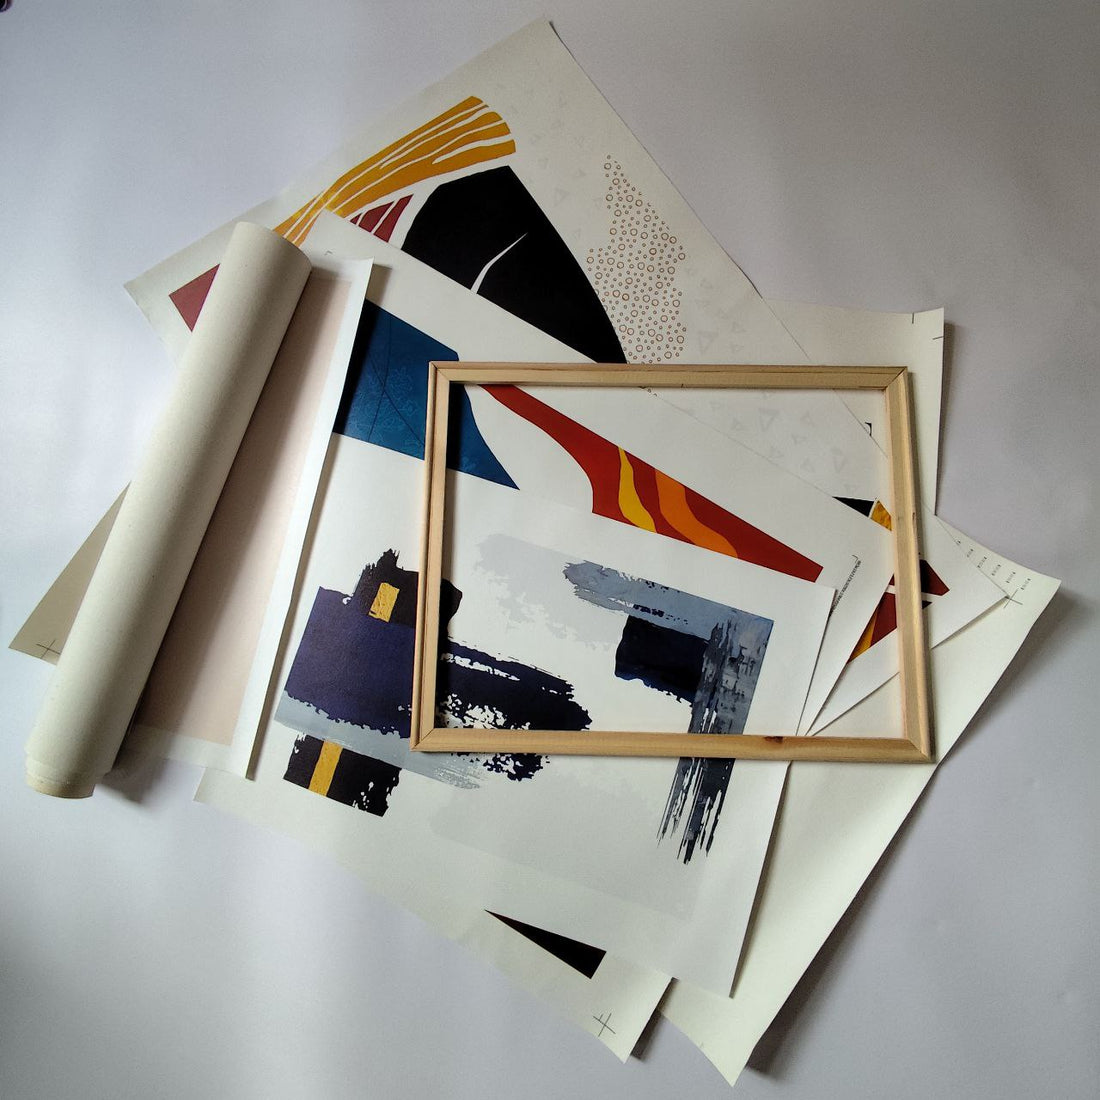
Stretching a canvas on a frame might seem tricky, but with a few simple steps and the right tools, anyone can do it at home. Whether you’ve bought an unframed art print or a blank canvas for painting, this guide will help you achieve a professional and long-lasting result.
🛍️ Canvases with Extra Edges – Ready to Stretch
At our store, we offer canvases designed specifically for easy stretching. Each print includes extra bl aroun
🧰 What You'll Need:
- Canvas (art print or blank)
- Stretcher bars (wooden frame)
- Staple gun or heavy-duty stapler
- Canvas pliers (optional, but highly recommended)
- Scissors
- A clean, flat surface
🔧 Step-by-Step Instructions:
1. Assemble the Frame
Start by putting together the stretcher bars. Most sets have interlocking corners that fit together easily. Ensure all corners are at 90° and the frame lies flat.
2. Position the Canvas
Lay your canvas face down on a clean, flat surface. Place the frame centered on the back of the canvas. If you're using a canvas from our store, the extra white margins around the artwork make this step easy — you’ll have enough space to wrap and staple the canvas securely.


3. Staple the First Side
Start from the center of one long side. Pull the canvas over the frame and place the first staple in the middle. Then, move to the opposite side, pull the canvas tight, and staple the center.

4. Stap
Repeat the same process for the shorter sides. Always pull the canvas tightly before stapling, and work from the center outwards on each side to ensure even tension.
5. Use Canvas Pliers (Optional)
Canvas pliers help create strong and even tension, especially for large prints or thick material. Use them to grip and pull the canvas before stapling.
6. Fold and Staple the Corners
Tuck the corners neatly, as if wrapping a present. Fold tightly and staple to secure. Make sure the folds are flat and not bulky.


7. Inspect the Canvas
Once finished, flip the canvas over and inspect it. The front should be smooth and tight, with no visible wrinkles or sagging.
✅ Pro Tips:
- If your canvas is wrinkled, lightly mist the back with water – it will tighten as it dries.
- Always pull opposite sides in order to avoid warping.
- Don’t overstretch – too much tension can tear the canvas over time.